The GT configuration utility allows to program the GT1 and the AHP motor controllers with your custom mount parameters.
Once opened, the configurator shows two options of operation: connection to a GT1 controller or firmware upgrade.
Let’s start by describing the configuration of a GT1 controller:
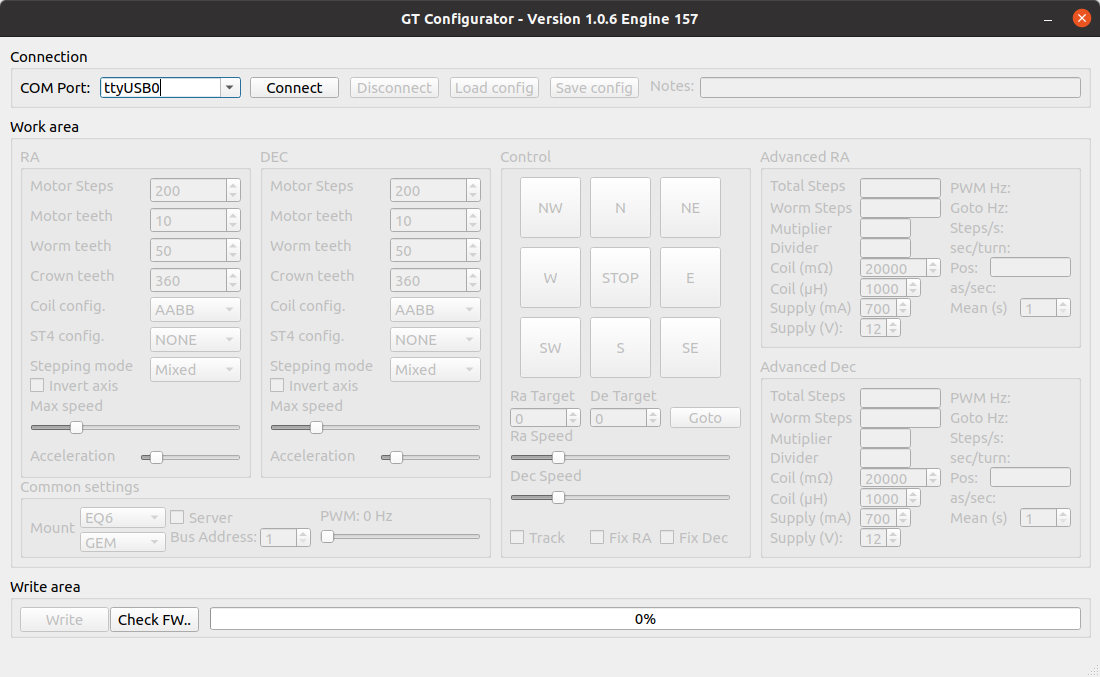
Select the COM port where the GT1 is attached and click “Connect”
After a while the controls will be unlocked and configuration will be possible
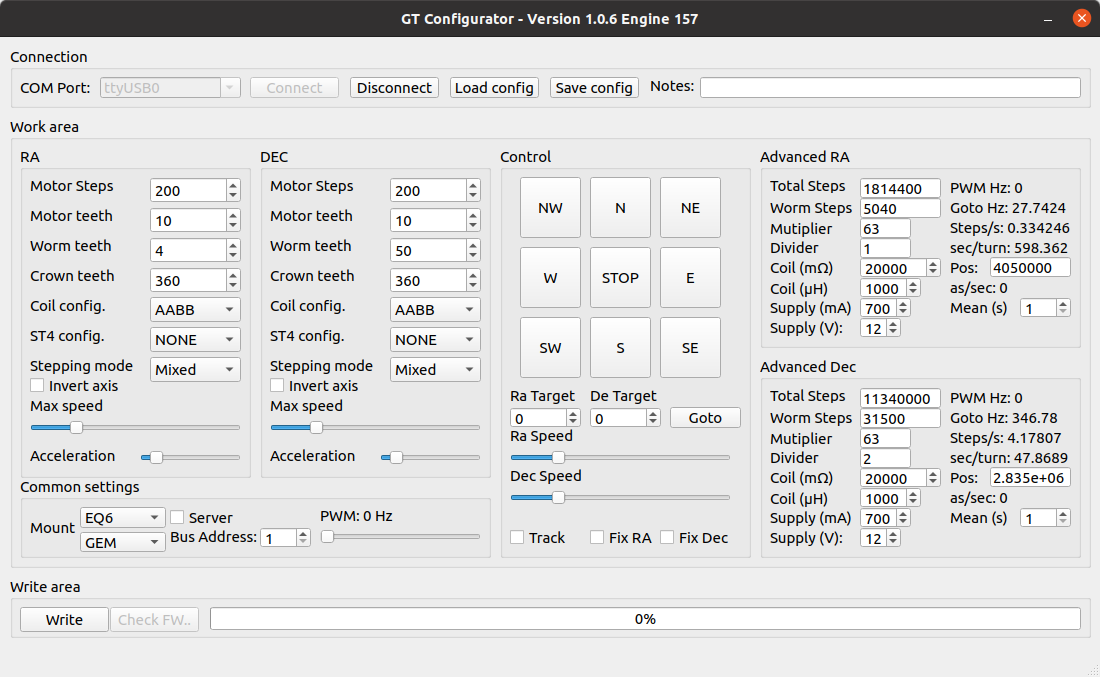
The RA/DEC motors reduction ratios can be configured by inserting their gears’ number of teeth. The configurator will found its optimal configuration and maximum step number by filling the right screen (Advanced RA and Advanced DEC) total steps and worm steps numbers.
You can choose to make the GT1 work in half-step or microstep modes by selecting the corresponding stepping mode. In mixed mode the planetary will choose which mode to use internally. Otherwise the GT1 will always work in a mode or another after the selection was done.
You can setup a maximum speed on each axis for gotos and slewing.
In microstepping mode the PWM frequency can be changed by using the trackbar. Different drivers can be used. We suggest to use the GTK5 kit for NEMA23 motors.
To program a GT1 click on “Write”
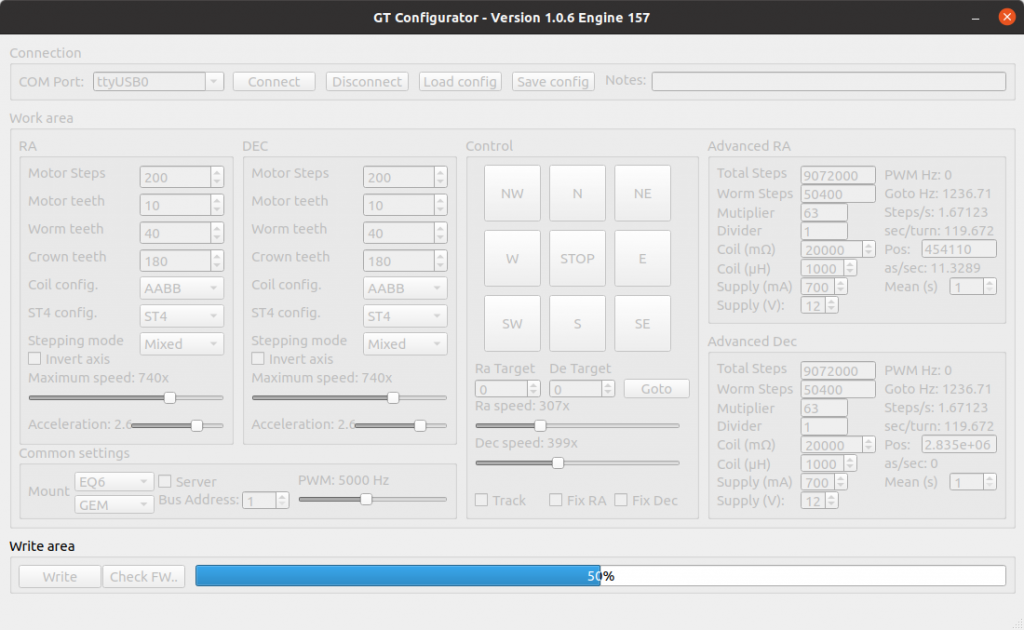
After writing there’s still a work to do: The sidereal tracking speed tuning.
Each configuration is not perfect at first write. The GT1 can tune-up its clock to fit all configurations for an optimal tracking speed.
Click on Fix RA and wait for a complete worm pulley turn.
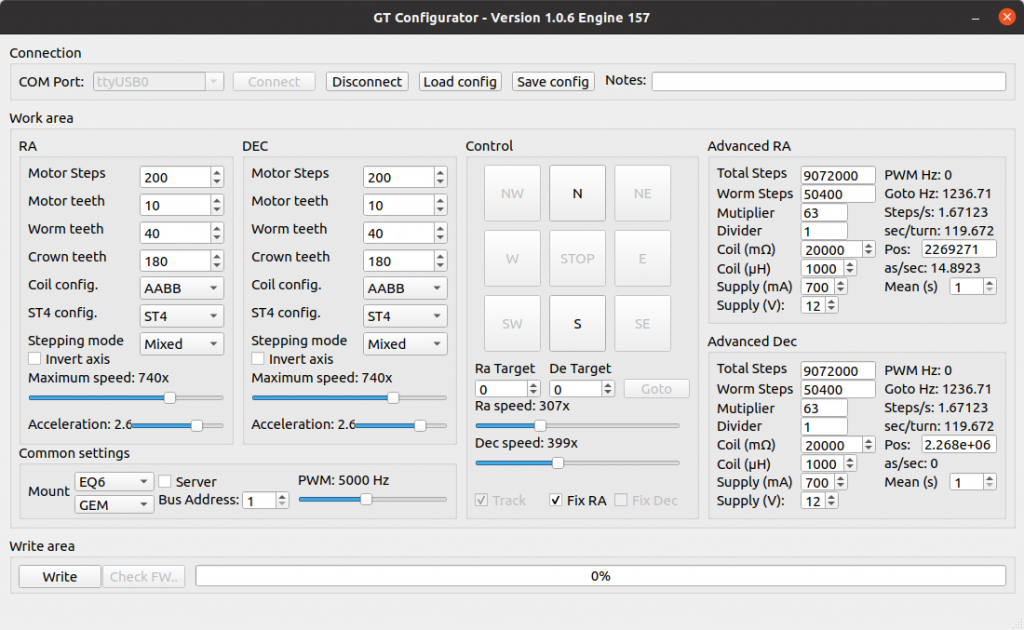
After a working configuration will be found. You can save it by clicking on “Save config” and then loading it by clicking “Load config”